
Artwork
Preparing artwork that is ready to print
A practical preflight guide to bleed, safe margins, colour, resolution, fonts and export settings before you upload.
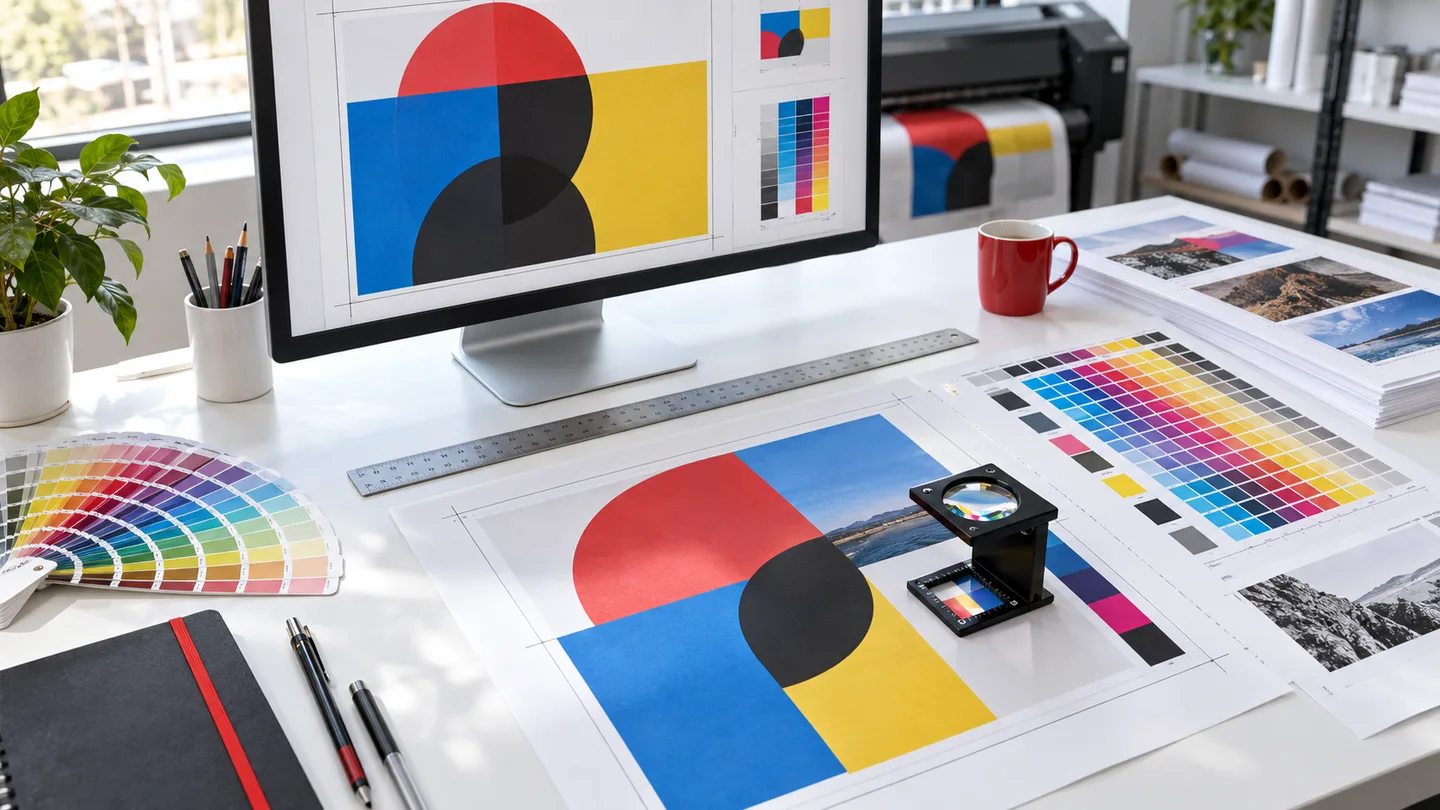
Print-ready artwork is a file built for the exact product and production method—not simply a design that looks correct on screen. A few checks before upload prevent white edges, clipped text, soft images and unexpected colour shifts.
Always begin with the current template or specification for the product you are ordering. Requirements can vary by size, material, finishing and production process.
01
1. Set the correct finished size, bleed and safe area
Trim is the final cut line. Bleed is extra artwork extending beyond that line so a small cutting variation does not leave an unwanted white edge. The safe area keeps important content away from the cut.
- Build the document at the requested size rather than scaling it at export.
- Extend photos, colours and background graphics fully through the bleed.
- Keep logos, type, QR codes and borders inside the stated safe margin.
- Do not use crop marks unless the product instructions request them.
02
2. Check image resolution at final size
Resolution must be judged at the size the image will actually print. Enlarging a small web image lowers its effective resolution and can produce visible softness or pixelation.
- Use high-resolution original images whenever possible.
- Check effective—not only original—resolution after scaling.
- Inspect key images at 100% and avoid screenshots or images copied from social media.
- For large-format products viewed from farther away, follow that product’s specific resolution guidance.
03
3. Prepare colour for print
Screens create colour with light while print uses ink or toner on a physical surface. Some bright RGB colours cannot be reproduced exactly in CMYK, and the stock or coating also changes perceived colour.
- Use the colour mode and profile requested in the product specifications.
- Build rich black and small black text according to the printer’s guidance; they may require different values.
- Remove unintended spot colours and overprint settings.
- Request a proof or physical sample when an exact brand colour is critical.
04
4. Protect fonts, lines and transparency
Missing fonts and unsupported effects can change a file when it is processed. Export settings should preserve the intended appearance without flattening essential detail too aggressively.
- Embed fonts in the PDF or convert final type to outlines after keeping an editable master file.
- Check that fine rules and reversed type are thick enough for the selected process.
- Review transparency, shadows and blending effects in the exported PDF.
- Remove hidden objects, unused pages and non-printing template layers unless instructed otherwise.
05
5. Export and perform a final preflight
Open the exported file—not only the design document—and review every page. Confirm dimensions, page count, orientation and spelling. Zoom into logos and small type, then zoom out to check the overall composition.
Before-you-upload checklist
- Correct template, finished size and orientation
- Backgrounds extended through bleed
- Text and logos inside the safe area
- Images sharp at final printed size
- Colour mode and special inks checked
- Fonts embedded or outlined
- Final PDF reopened and reviewed page by page