
Events
Planning a consistent branded event kit
Coordinate signage, apparel, badges, table displays and giveaways with a practical timeline and one clear visual system.
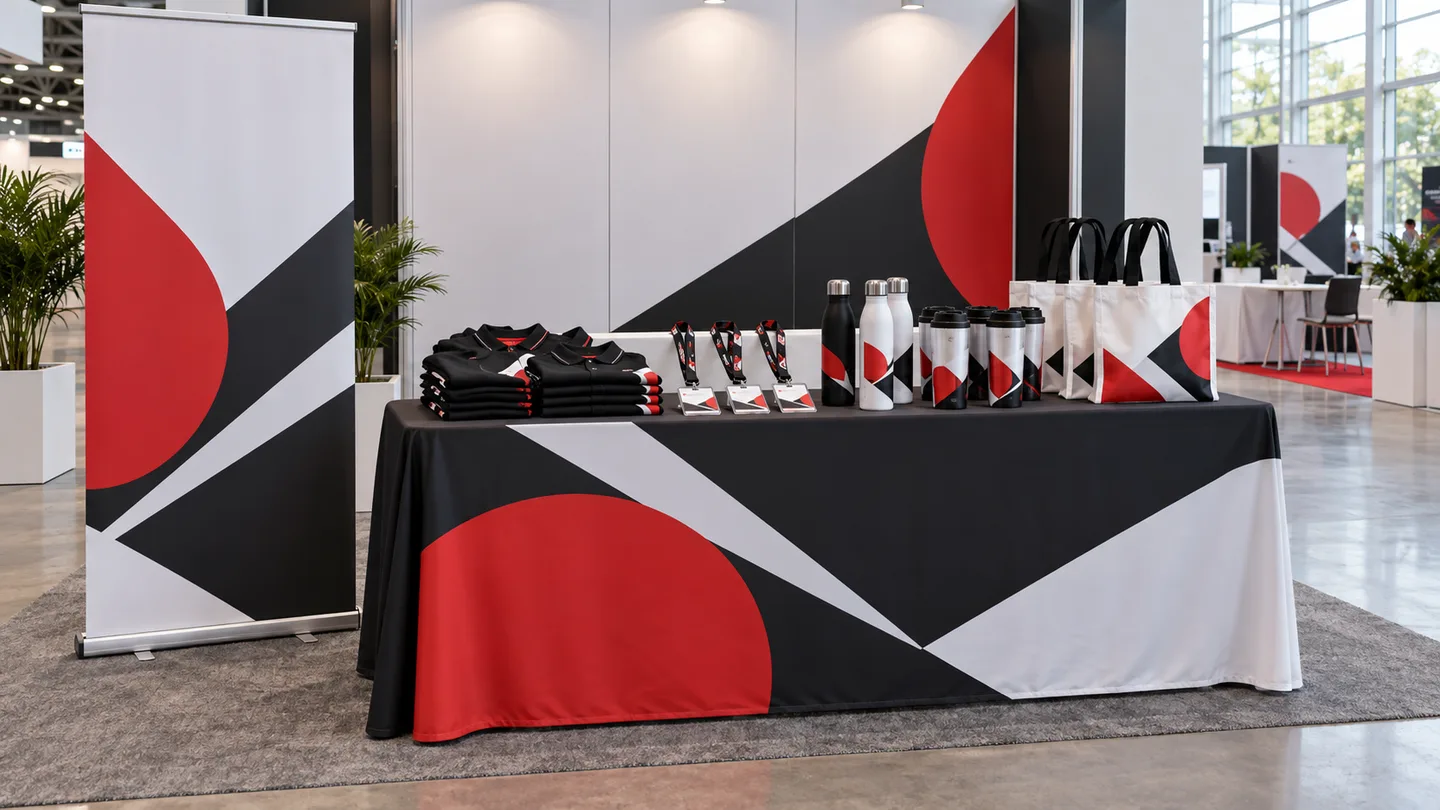
A strong event kit does not need the largest number of products. It needs a consistent system that helps people notice the booth, understand the offer, recognize the team and remember what to do next.
Plan every item from the same approved brand package and order by production risk, not by the order in which products appear at the booth.
01
Map the visitor journey before selecting products
Think about what a visitor sees from across the room, at the aisle, at the table and after leaving. Give each item one job.
- Distance: a banner or backdrop identifies who you are and the main value you offer.
- Approach: a table cover and simple display establish a coherent branded zone.
- Conversation: badges and coordinated apparel make team members easy to identify.
- Follow-up: a card, QR code or useful giveaway carries one clear action beyond the event.
02
Create one event visual system
Use a shared colour palette, type system, image style and message hierarchy. The layout does not need to be identical on every product, but visitors should recognize the same brand instantly.
- Keep the headline short enough to read while walking.
- Use large type and strong contrast on distance signage.
- Reserve detailed information for handouts or follow-up pages.
- Test QR codes at the expected printed size and viewing distance.
- Prepare logo versions for light, dark, horizontal and compact placements.
03
Order in the right sequence
Custom apparel, specialty displays and large-format pieces may require more review than standard printed handouts. Build backward from the event date and leave time for proofing, production, delivery and a contingency.
- Six to eight weeks out: confirm goals, quantities, venue rules, booth dimensions and shipping destination.
- Four to six weeks out: approve display graphics, apparel sizes and specialty items.
- Two to four weeks out: finalize badges, handouts, cards and standard giveaways.
- One week out: inventory every item, test hardware, pack repair supplies and separate the first-day kit.
04
Choose giveaways by usefulness, not novelty
A useful item aligned with the audience usually earns more impressions than a novelty chosen only because it is inexpensive. Consider size, weight, event travel and whether the item supports the conversation.
- Prioritize a practical item people can carry home easily.
- Keep branding legible but appropriate to the item.
- Use tiered quantities for general visitors, qualified prospects and partners.
- Track distribution so the next event order is based on evidence.
Event-kit packing checklist
- Display hardware, graphics and setup instructions
- Table cover and surface display pieces
- Team apparel, spare sizes and name badges
- Business cards, handouts and lead-capture plan
- Giveaways separated by audience or day
- Tape, clips, chargers, markers and a compact repair kit
- Tracking numbers, venue contacts and return-shipping labels